
Latipics 1.x Support
How to use Latipics 1.x
-
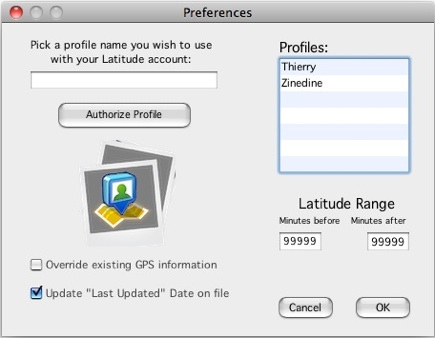
1.First, you need to create a profile you will associate to your Google Latitude account (Mom’s, Dad’s...), this will allow you to manage multiple Google Latitude accounts. Go to Latipics>Preferences (Tools>Options on Windows) and enter it there.
-
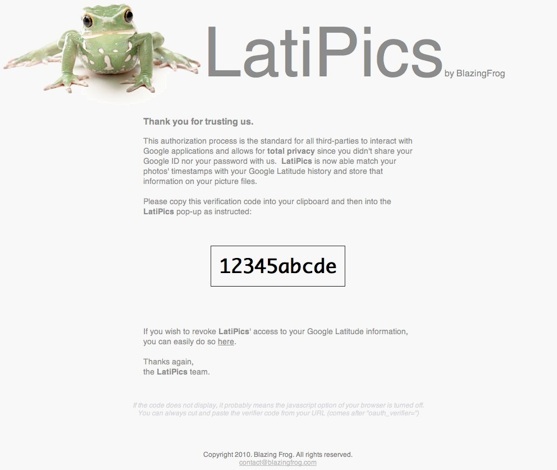
2.Click the “Authorize Account” button. This will open up your browser and land you on Google’s sign-in page. This process is a one-time set-up that guarantees your information is completely safe since you will not communicate any of your Google credentials to us.

-
3.You will be asked to copy/paste a confirmation code into the Latipics window to finalize the authorization process.
-
Once authorized, Latipics will be able to match your pictures’ timestamp to your Google Latitude location history.
-
-
4.The following options are available in the Latipics>Preferences (Tools>Options on Windows) menu:
-
•Override the GPS information
-
•Update the “last updated” date on the file
-
•Specify a time period (also called Latitude Range) that will tell Latipics how long before and after the picture to look for a Google Latitude registered location.
-
5.Select the profile you wish to use in the profiles list (“Dad’s Phone” in our example, if there is only one, it is automatically selected). Click OK to return to the Latipics application.
-
You’re now ready to roll!
-
6.Pick a folder or a file to geotag and then click START.
How do I select pictures?
There are two ways to select picture files or folders:
-
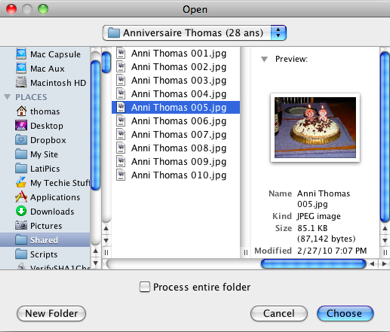
• Click the “Select a File or a Folder” button. This will open up the file chooser (see below).
-
The “Process entire folder” button is particularly useful if, after previewing pictures, you decide to have Latipics geotag the entire folder.
-
-
Note: Latipics 1.x only allows for selecting one file/folder at a time. Also, it will not recursively process folders within folders. If needs be, we suggest you create one folder with copies of all the pictures you want geotagged, then copy the pictures back to their original location after they have been processed.
-
• Drop a folder/picture in the “Drop Zone”:

What file types are accepted?
The following extensions will be processed:
"jpg", "jpeg", "png", "gif", "tiff", "bmp", "ico", "psd", "xmp". Others will be skipped.
How does Latipics 1.x know which location to use?
You can now specify an acceptable range of time before and after the picture’s timestamp to query Latitude. The closest match will be used. In the previous versions, the default of 30 minutes before the picture was used.
The range can be set in the Latipics>Preferences (Tools>Options on Windows) menu option.
The “Tools” Menu
-
•See the Log file. Even Latipics will display in real time what picture it is updating and to which geographical location, you can see a recap in the log file with any error (in red) or warning (in gray). Normal operations will be in blue.
Note that the log file gets deleted at every run of Latipics as well as every new start of the
application.
-
•Go to your Location History. This allows convenient access to your Google Latitude location history through your browser.
-
•Options (windows only). The equivalent of the Preferences window, see above.
Does Latipics work with iPhoto?
Yes. In fact, it has been designed with iPhoto in mind.
Simply drag and drop into the Latipics “Drop Zone”. The information bar will display how many files were selected.
Contact us
We’d love to hear from you! Feel free to submit any feedback, suggestions.


Copyright 2010-2012. Blazing Frog. All rights reserved.